Creating an account
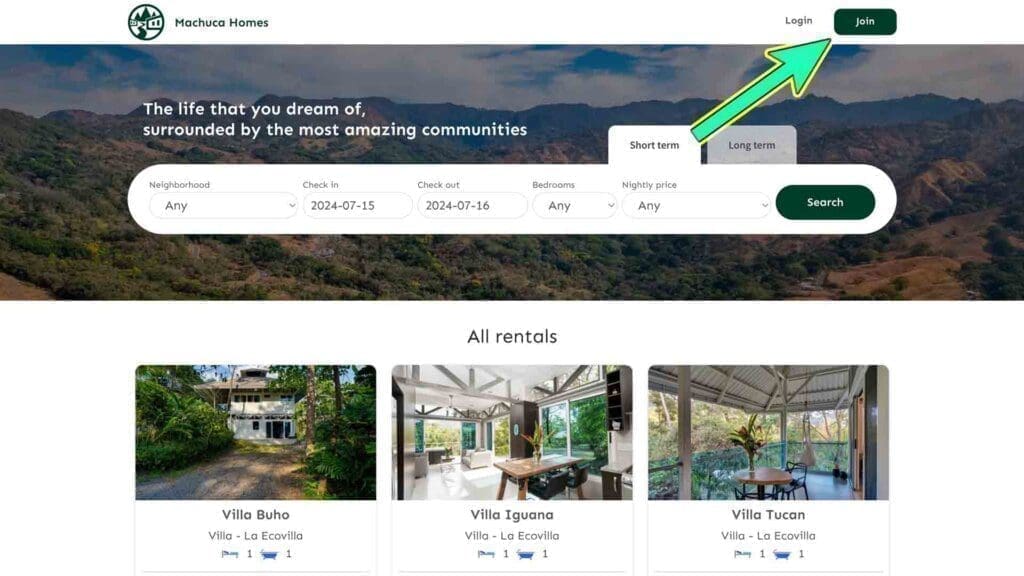
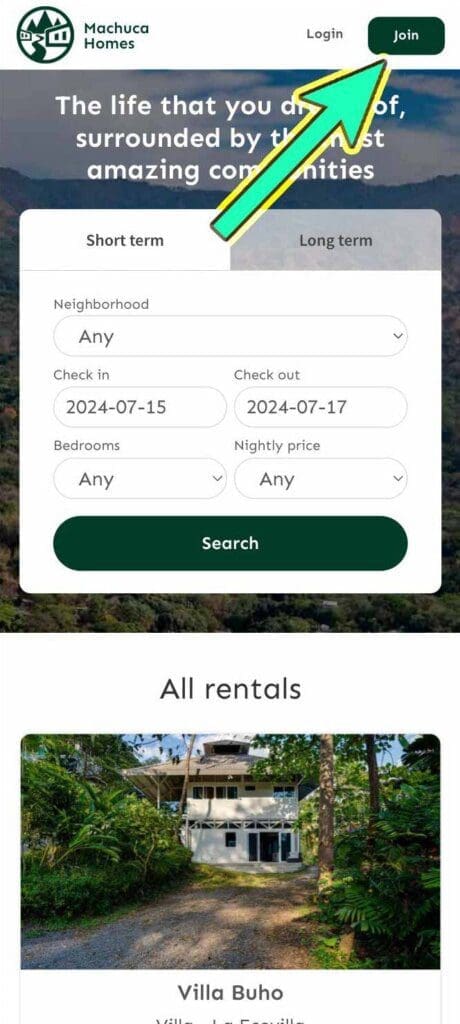
1. Click on the Join button.
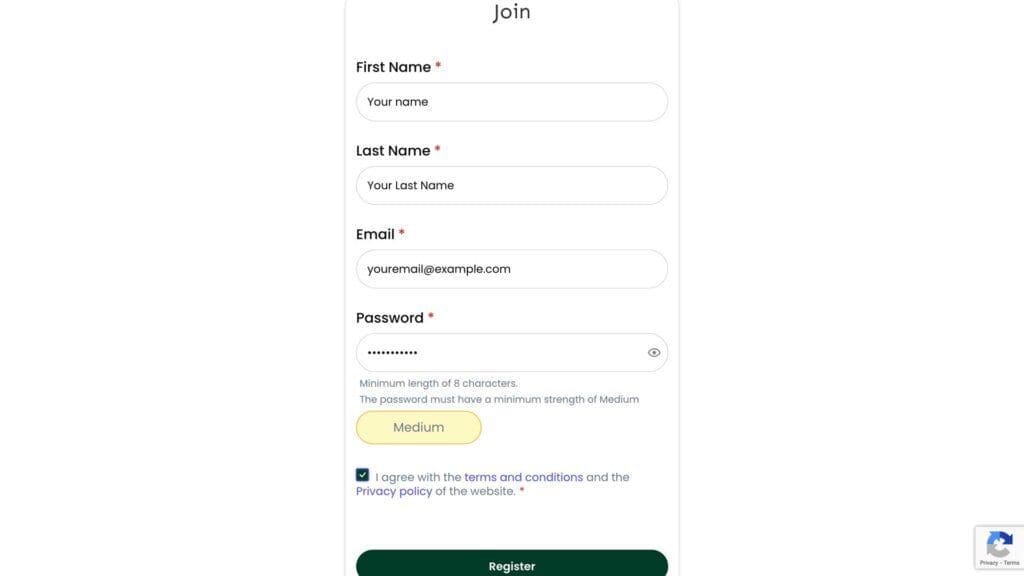
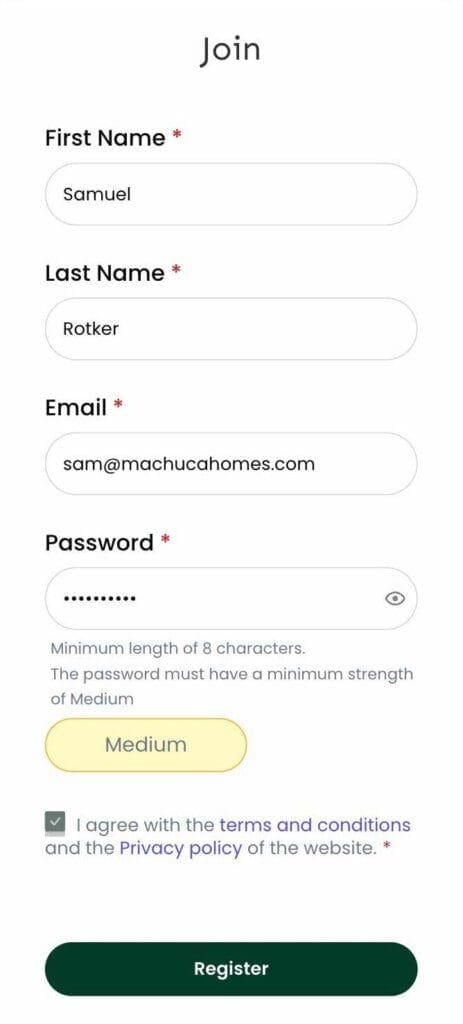
2. Fill in the registration form with your data and click on the Register button.
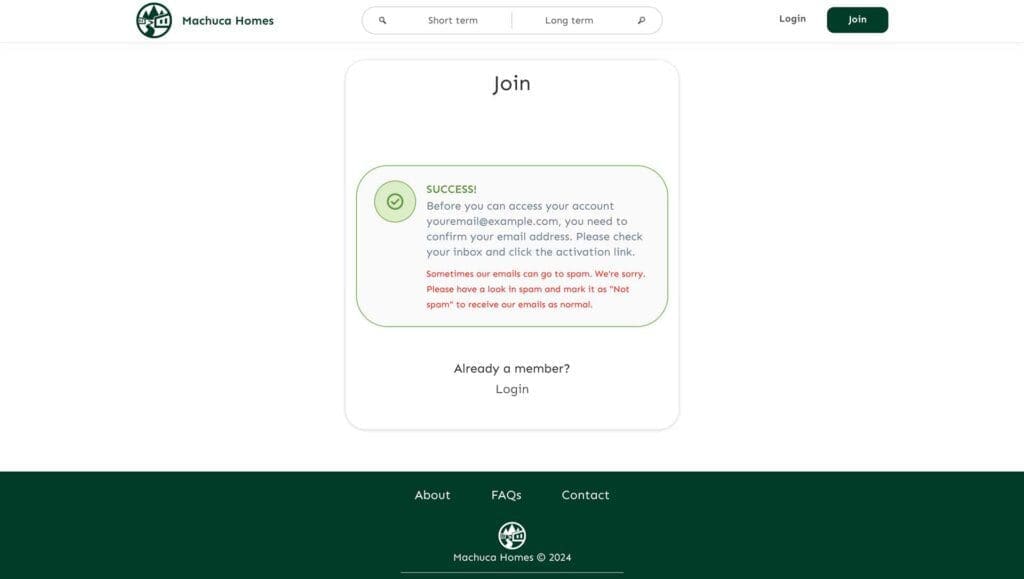
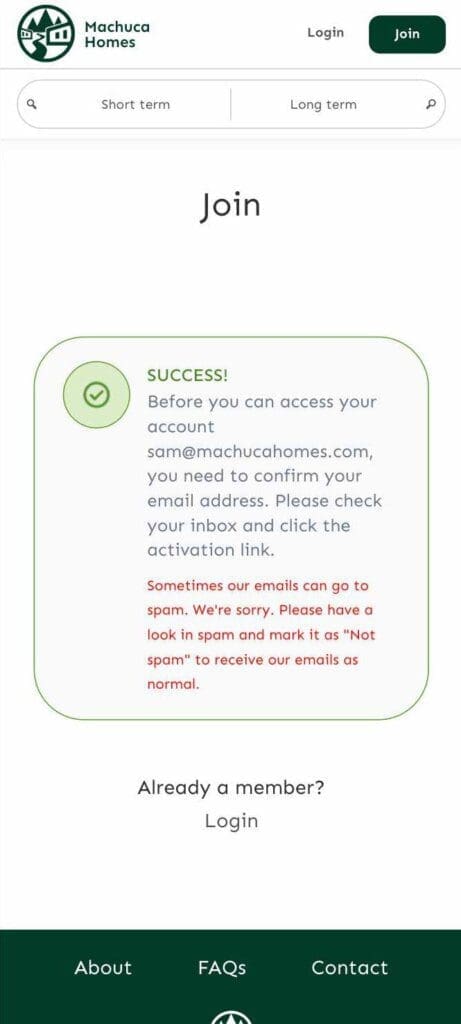
3. If you filled in the fields correctly you will see this message.
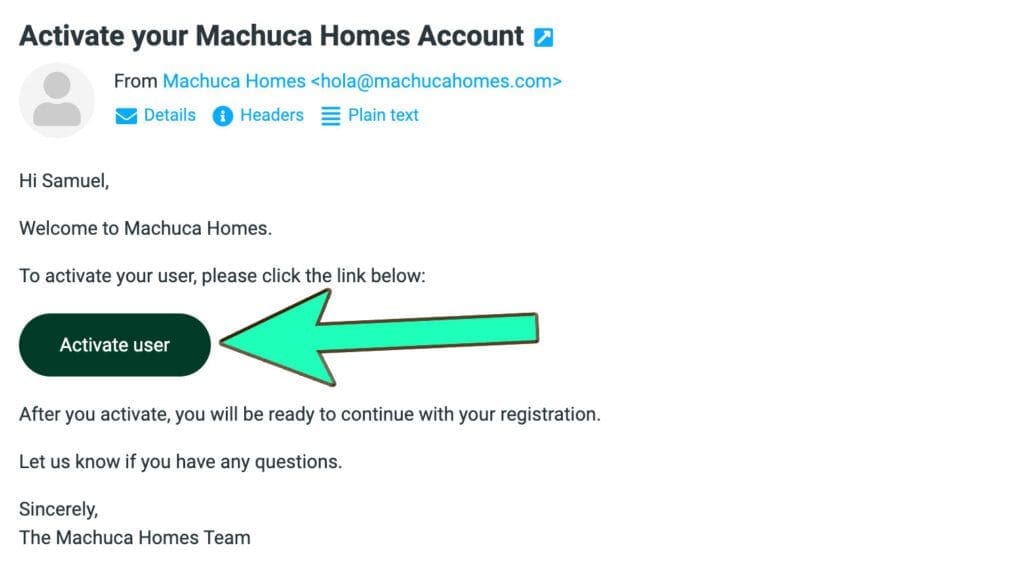
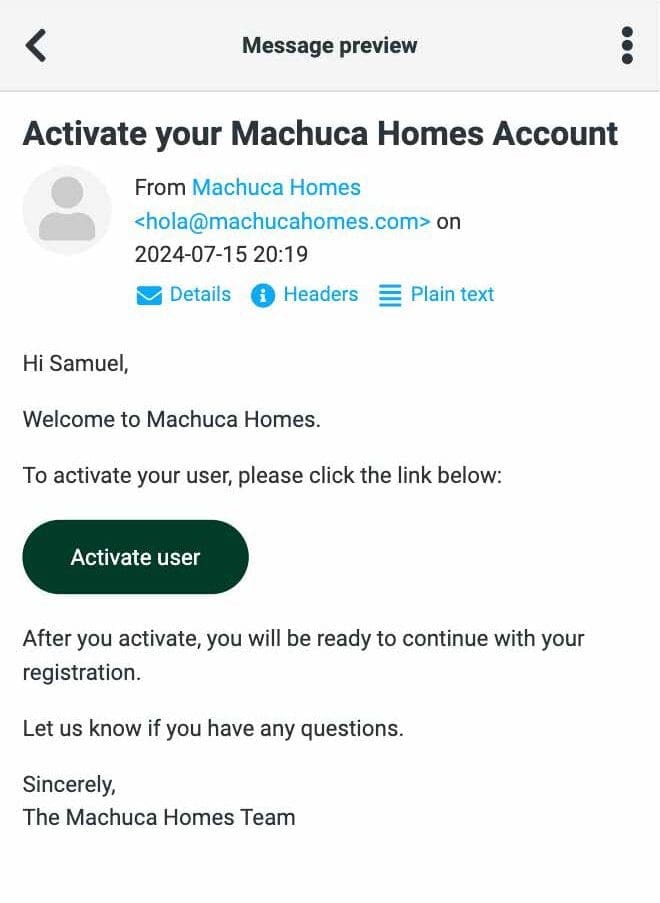
4. Go to your email inbox and click on the “Activate user” button (check on spam if it’s not in the inbox).
5. You will be redirected to the ‘Edit Profile’ page where you must complete your profile.
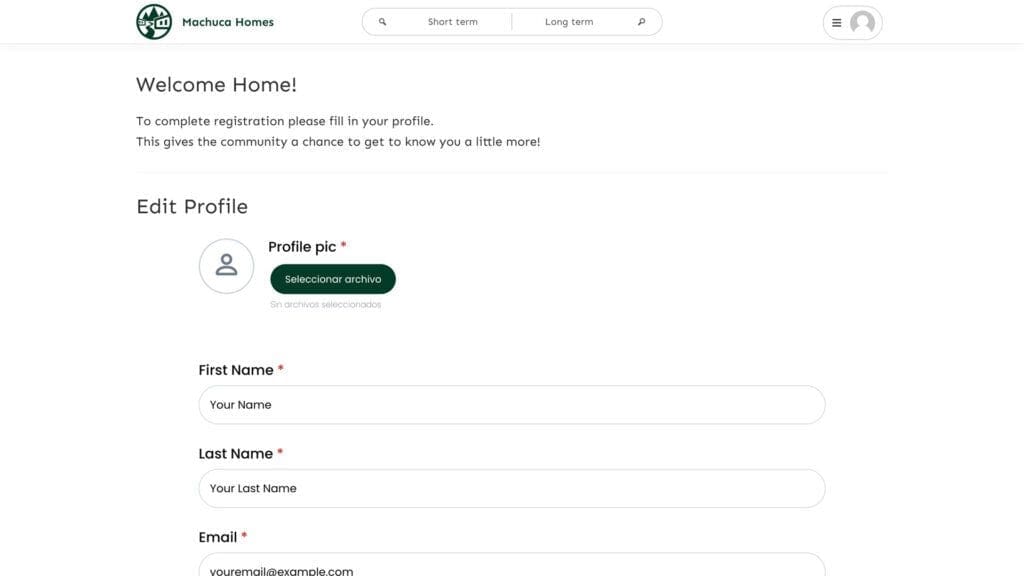
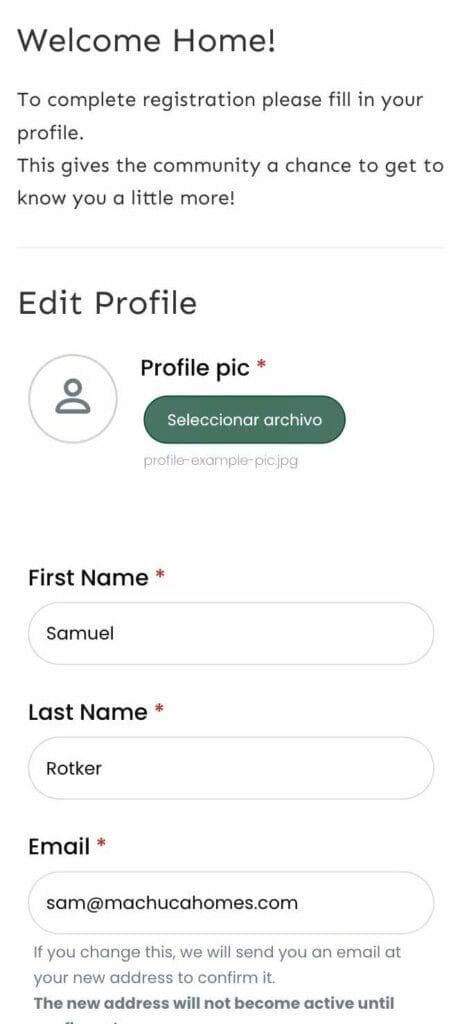
6. Once completed click on the “Update” buton.
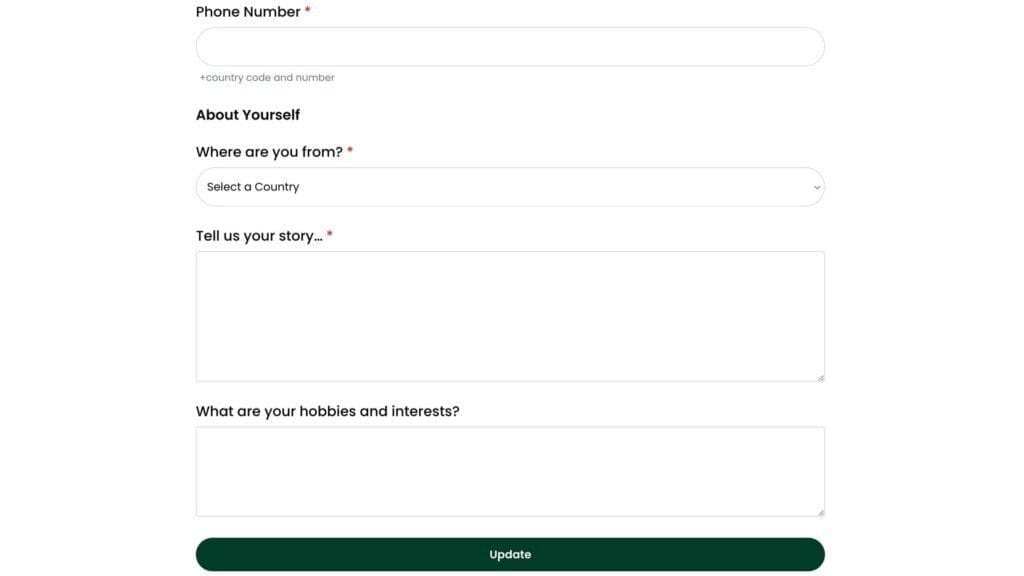
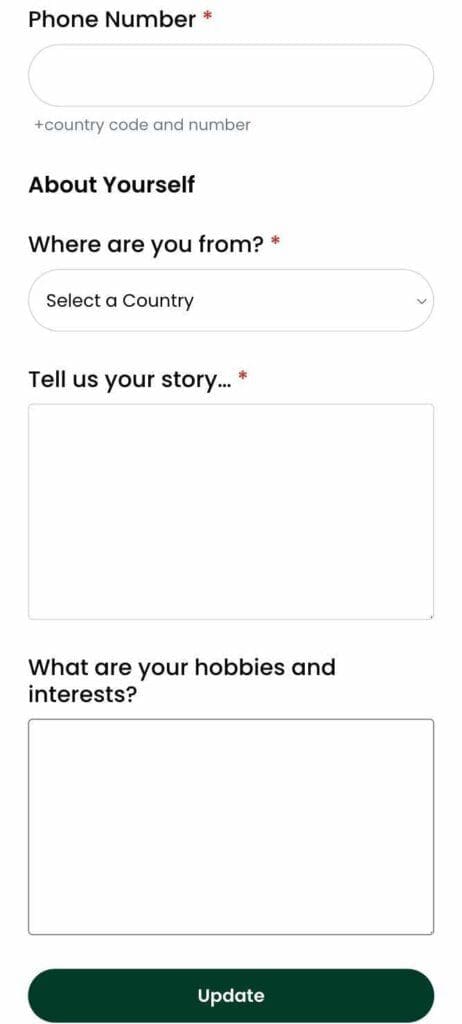
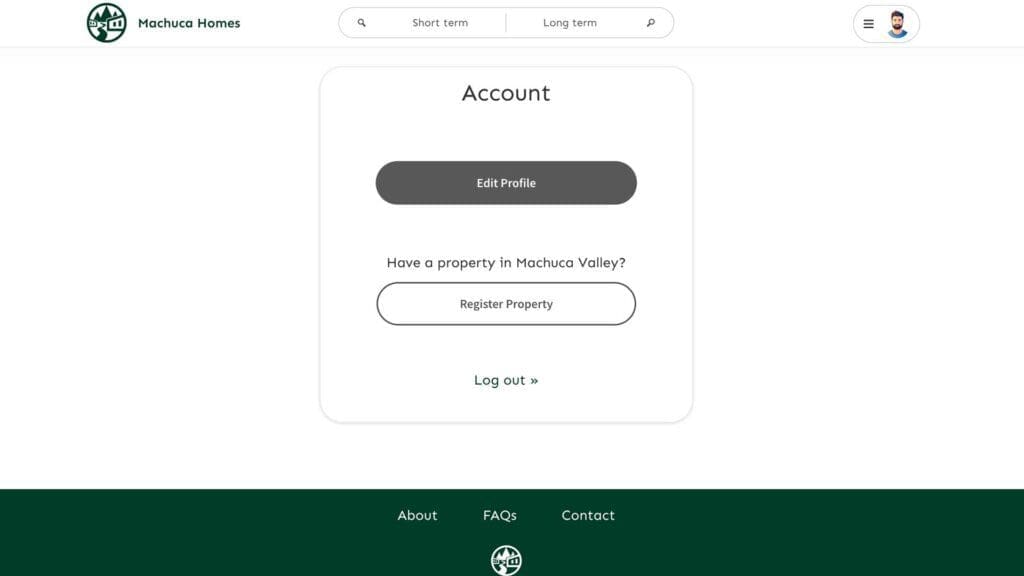
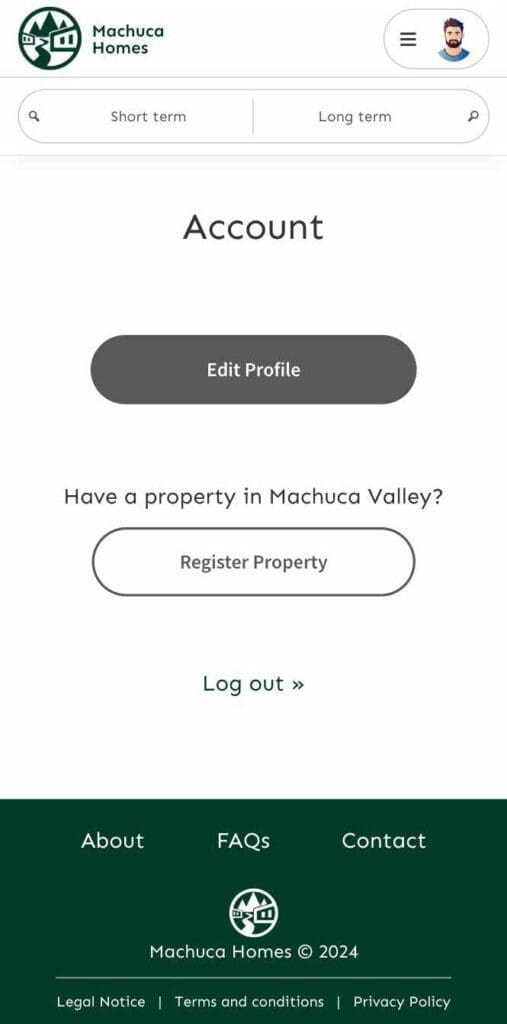
7. And that’s it! Your account has been created successfully. You will be redirected to your ‘Account‘ page.
Creating a listing
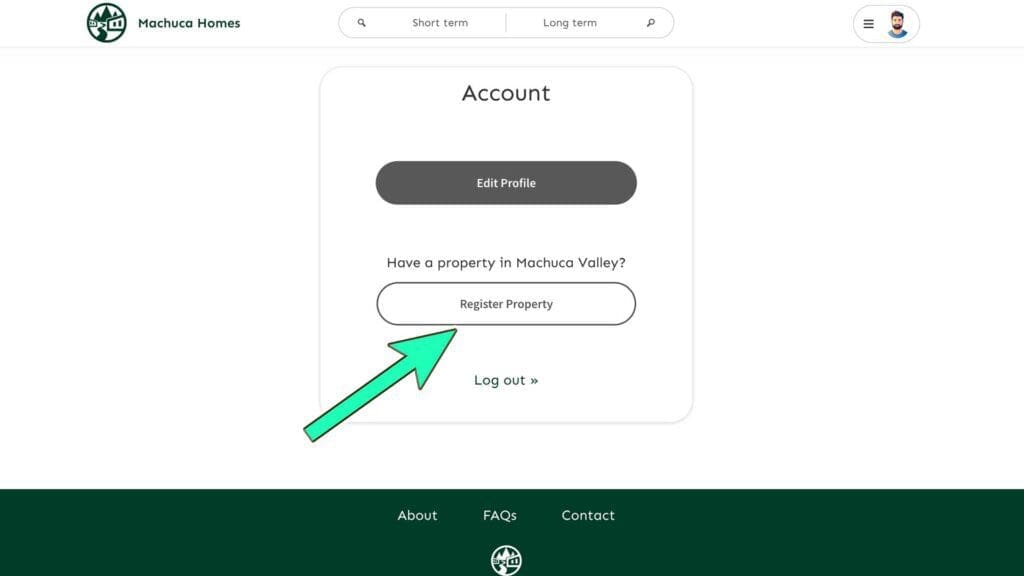
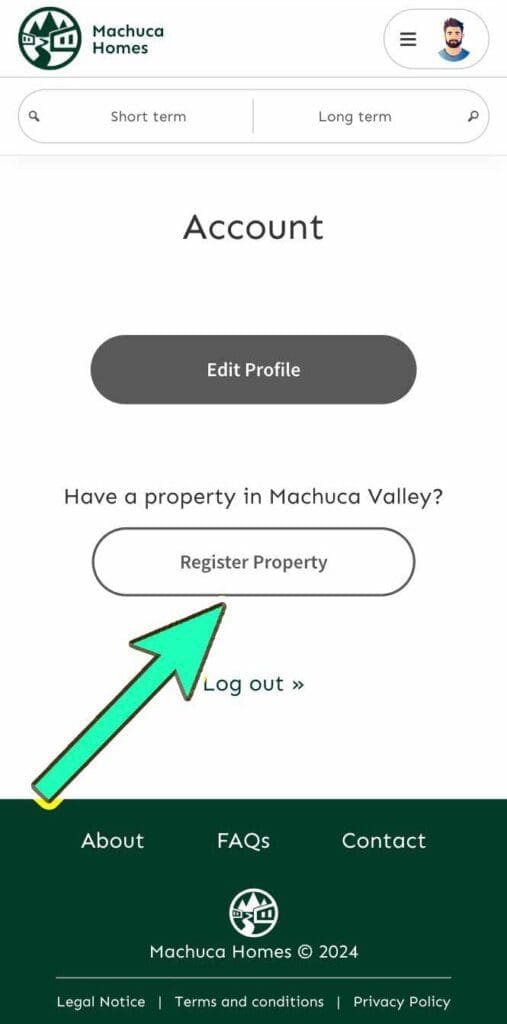
1. On your ‘Account‘ page, click on the “Register Property” button.
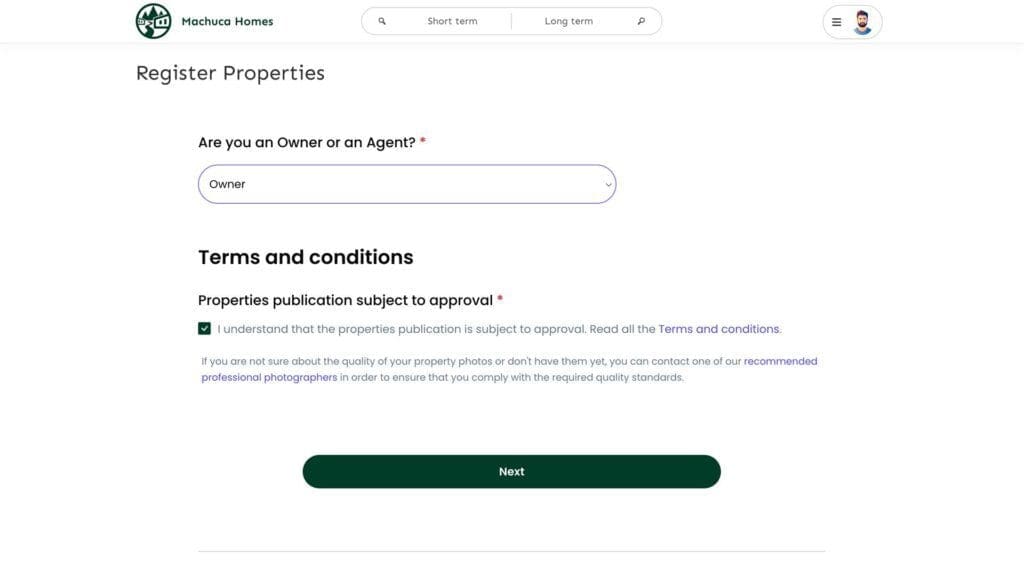
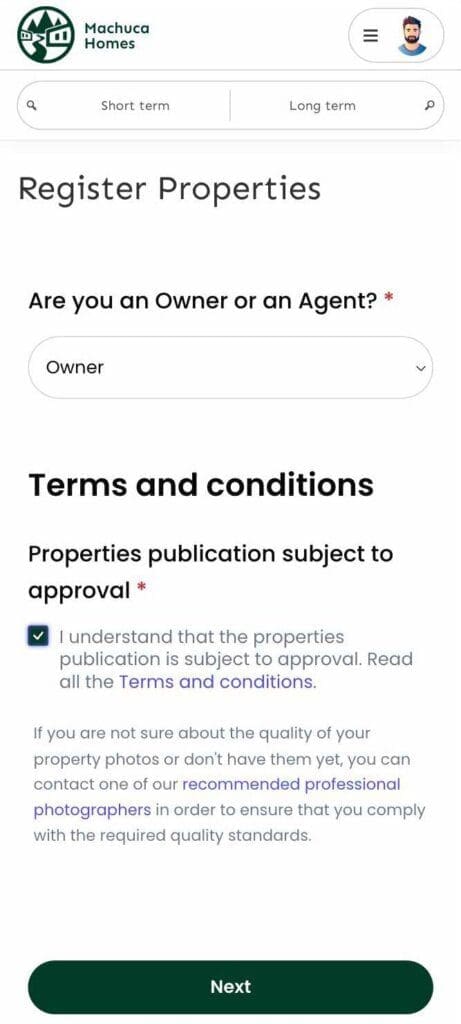
2. Select whether you are an owner or agent, mark the checkbox and click the “Next” button.
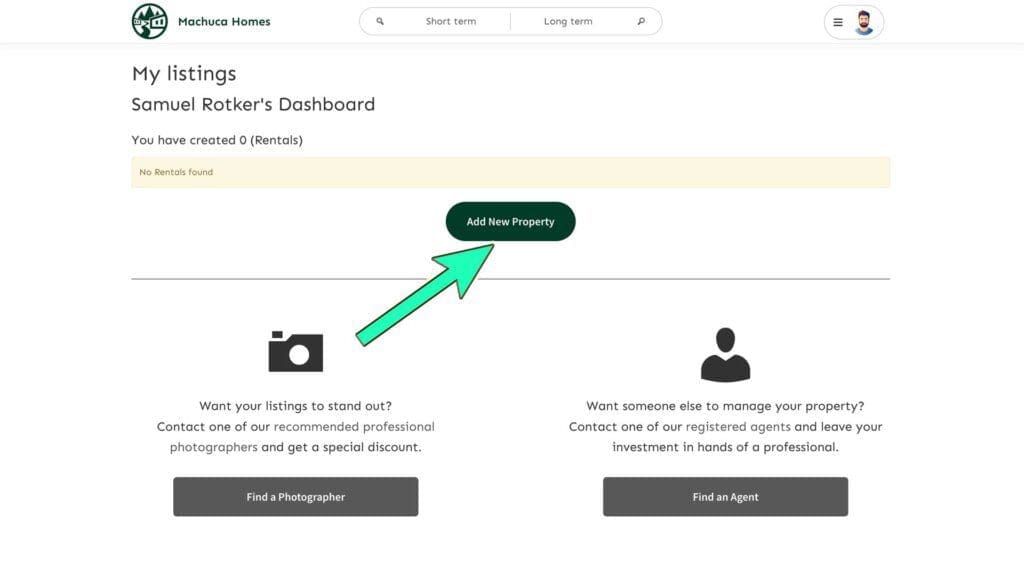
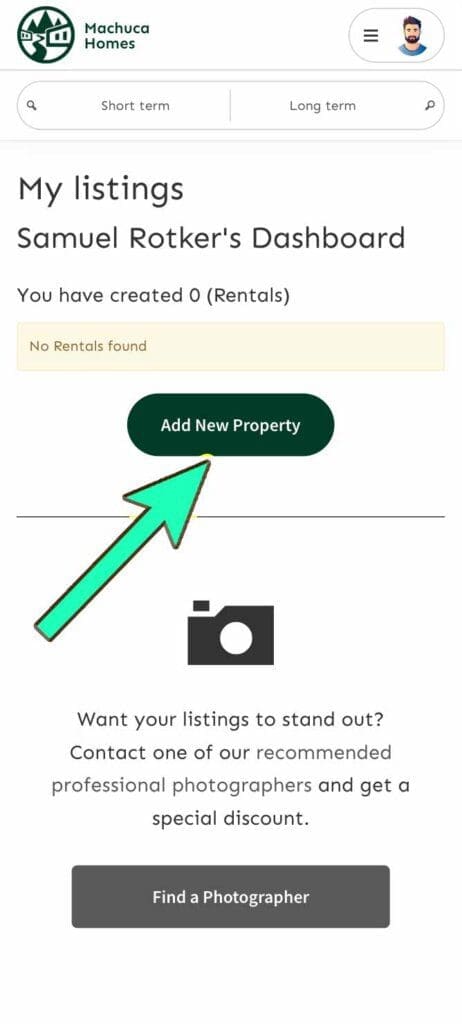
3. You will be redirected to your listings dashboard. Click on “Add New Property”.
If you don’t have photos of your property or you want them to be taken by a professional you can contact one of our recommended photographers.
And if you want a professional to manage your property you can contact one of our recommended property managers.
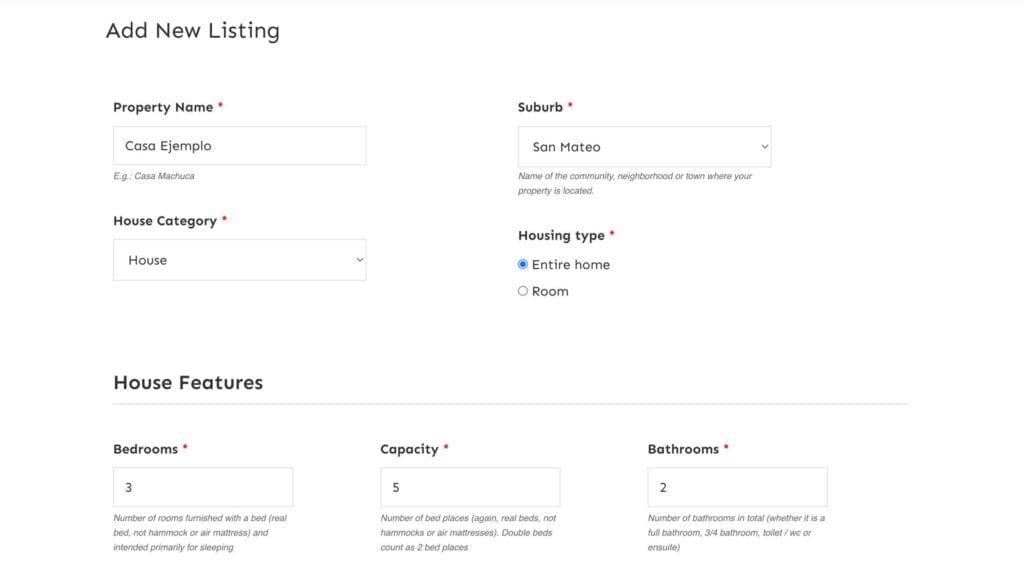
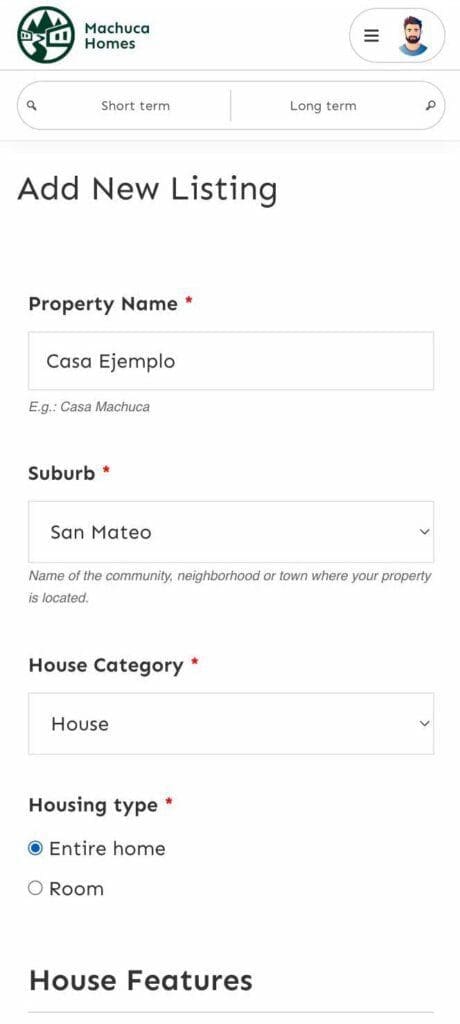
4. Fill in the form with your property details (fields marked with a red asterisk are mandatory).
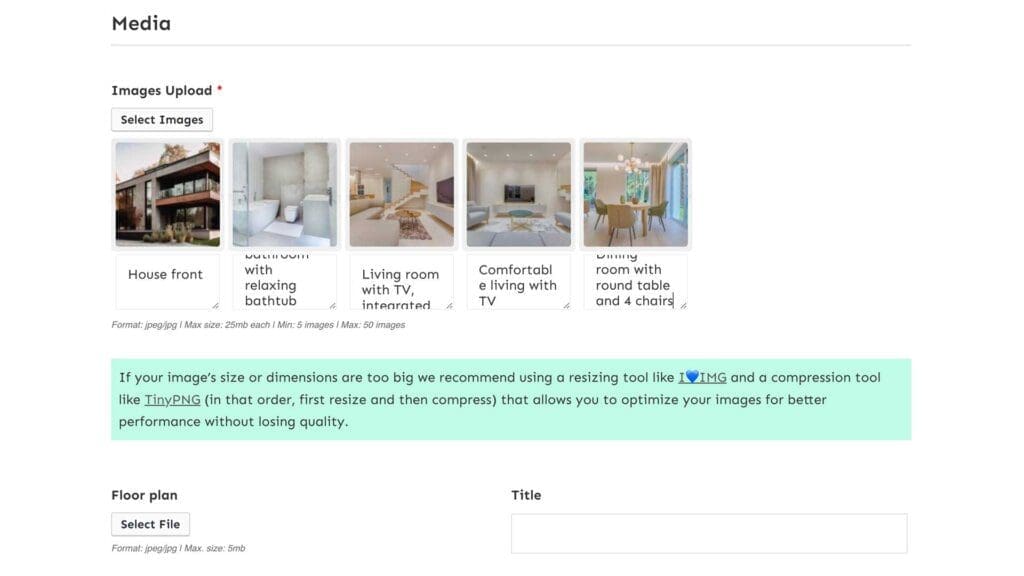
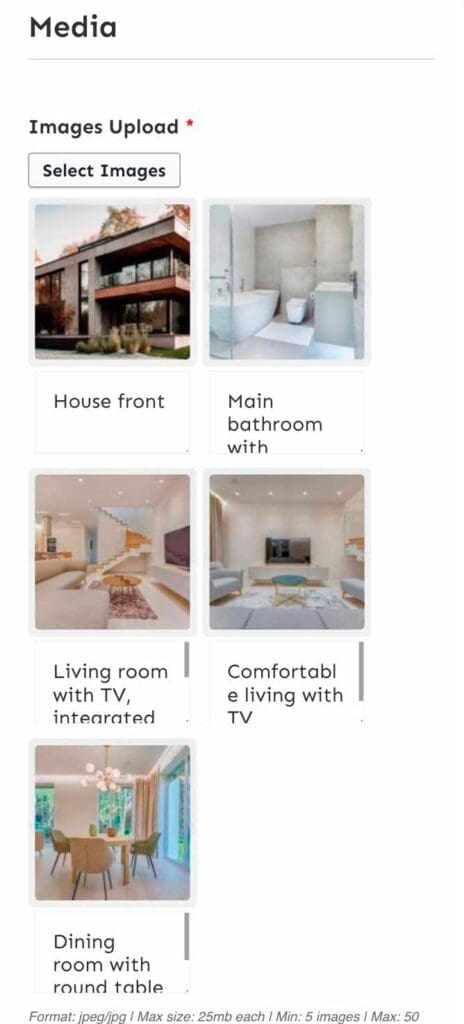
5. Upload at least 5 images of your property, you can include a caption of each image that will be displayed on the property’s image gallery.
If you have a problem uploading an image make sure that the format is jpg/jpeg and that it has the “.jpg” extension written at the end.
6. Add the description of the property trying to highlight the most important features and click on the “Submit” button when you are ready to go live.
If you wish to save your progress without going live yet click the “Save Draft” button (this also applies on the ‘edit property’ page for when your property is already live and you want to pause it).
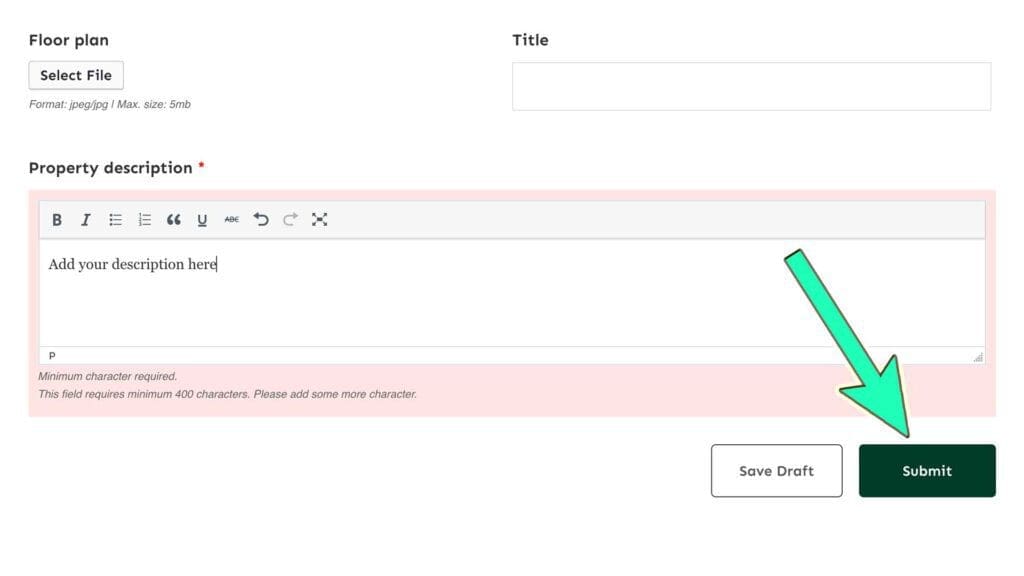
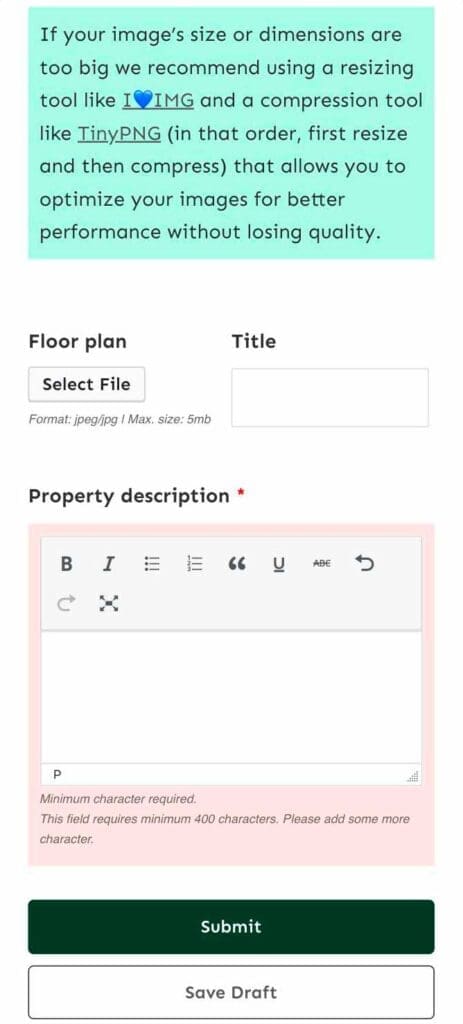
7. Once submitted, we will review your property and will be posting it within 2 business days.
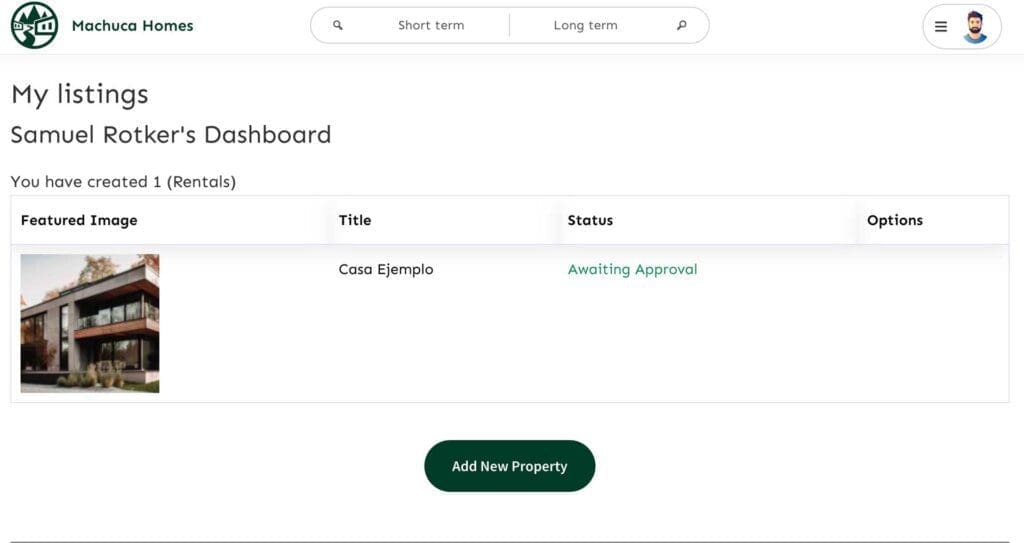
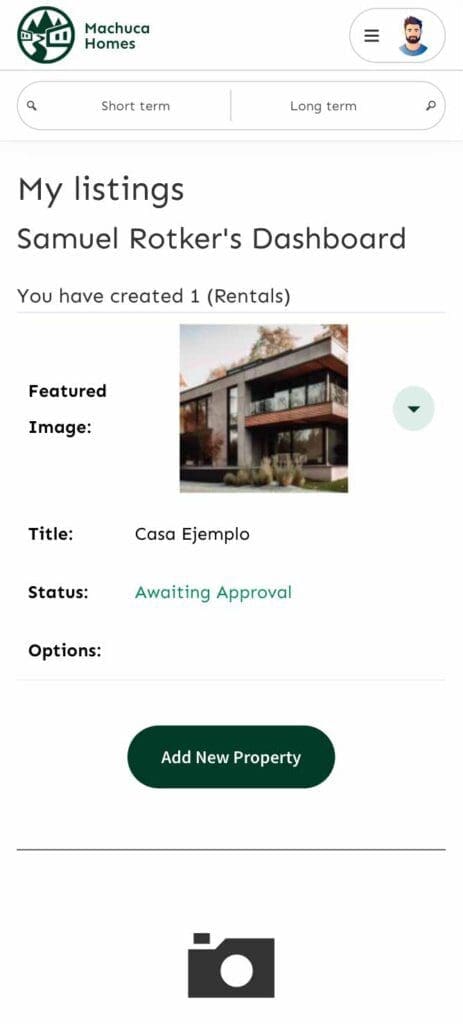
8. And that’s it! Your property is now live and ready to receive bookings and rentals requests.
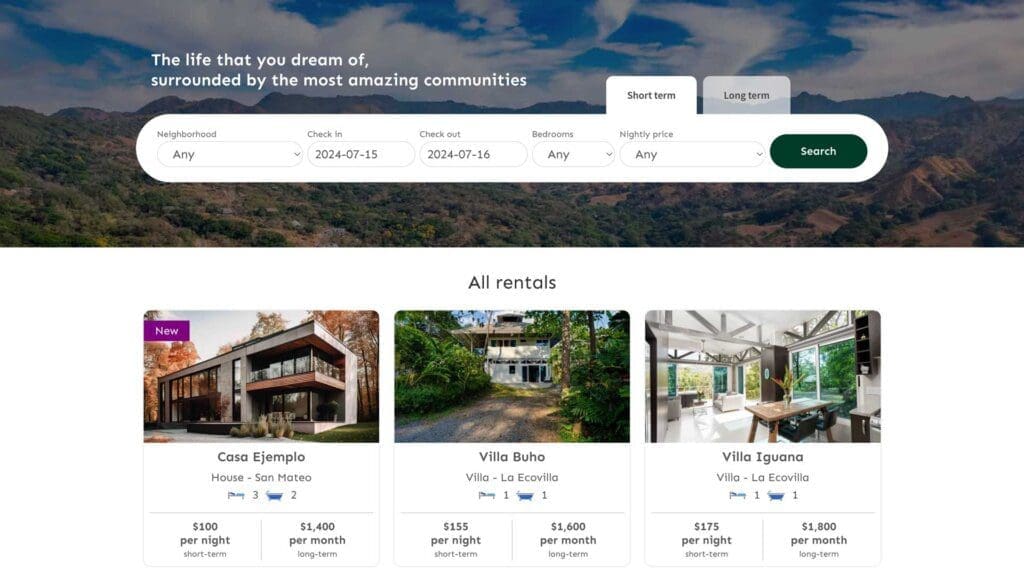
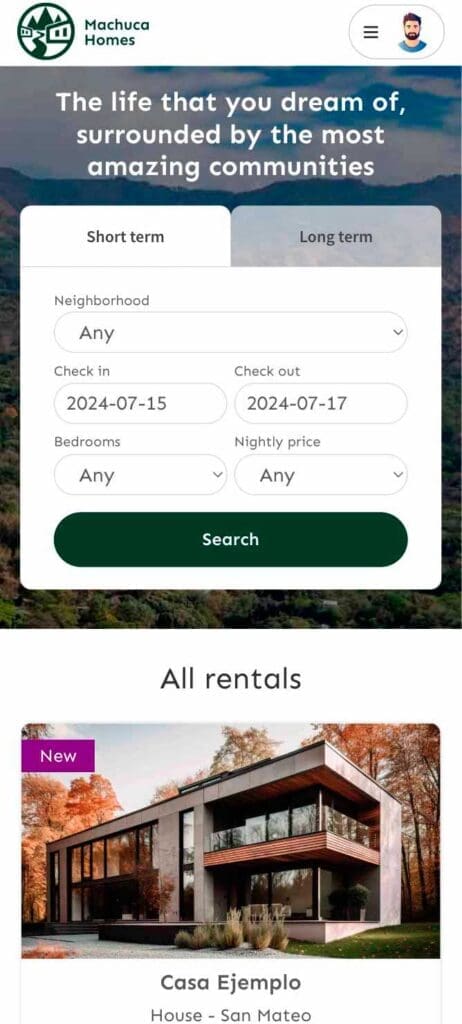
Editing your listings
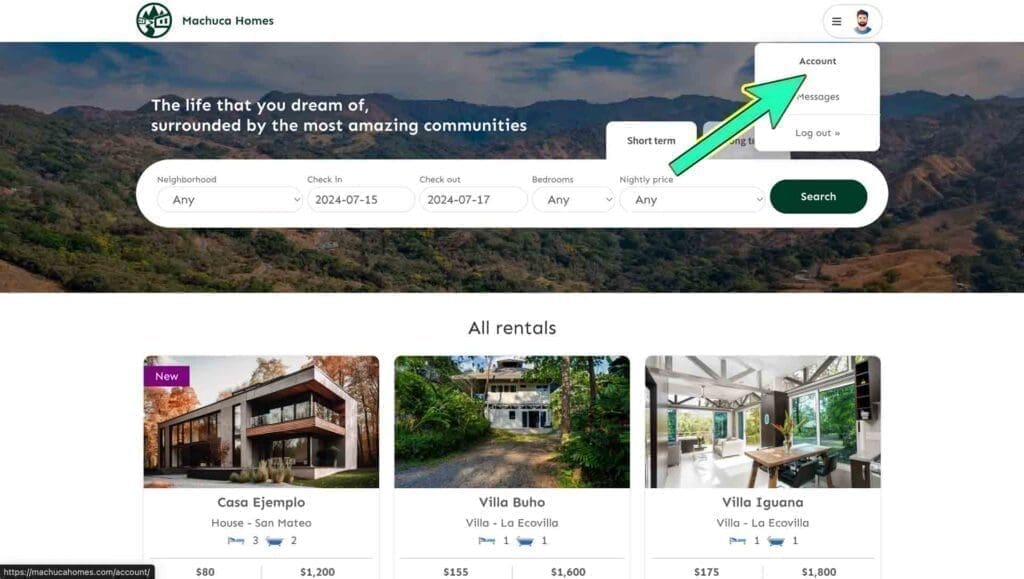
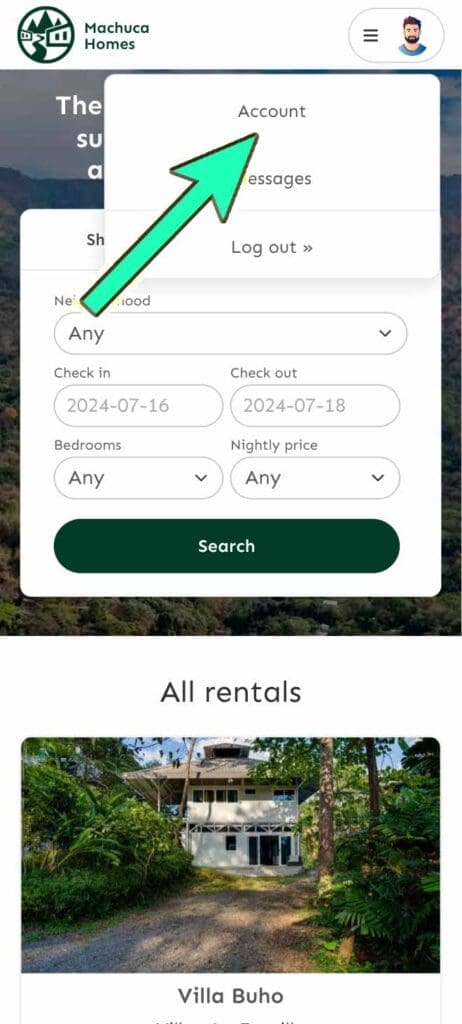
1. Click on the “menu” button (you need to be logged-in to see this menu).
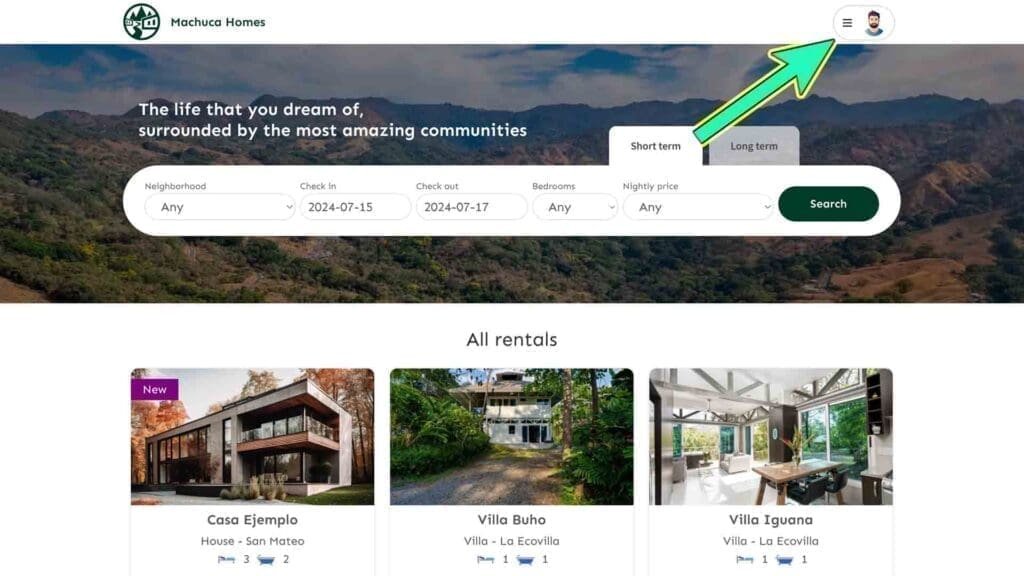
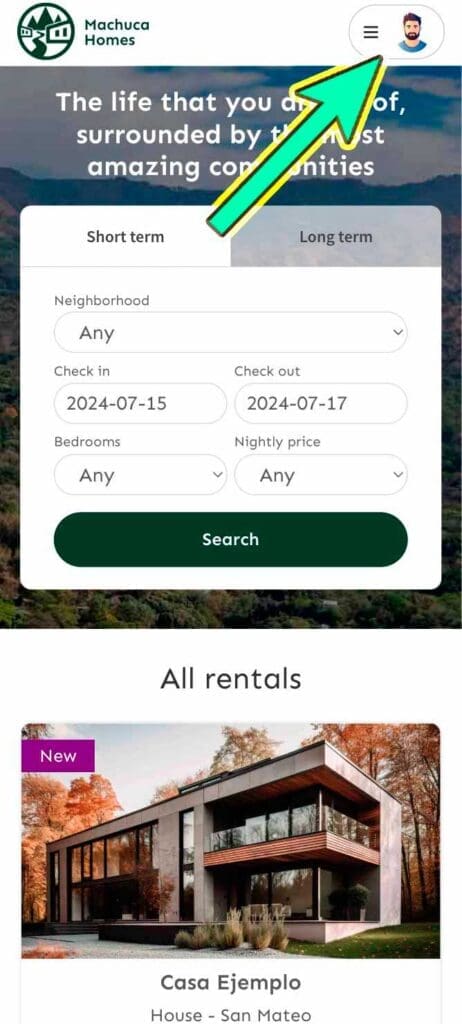
2. Click on the “Account” button.
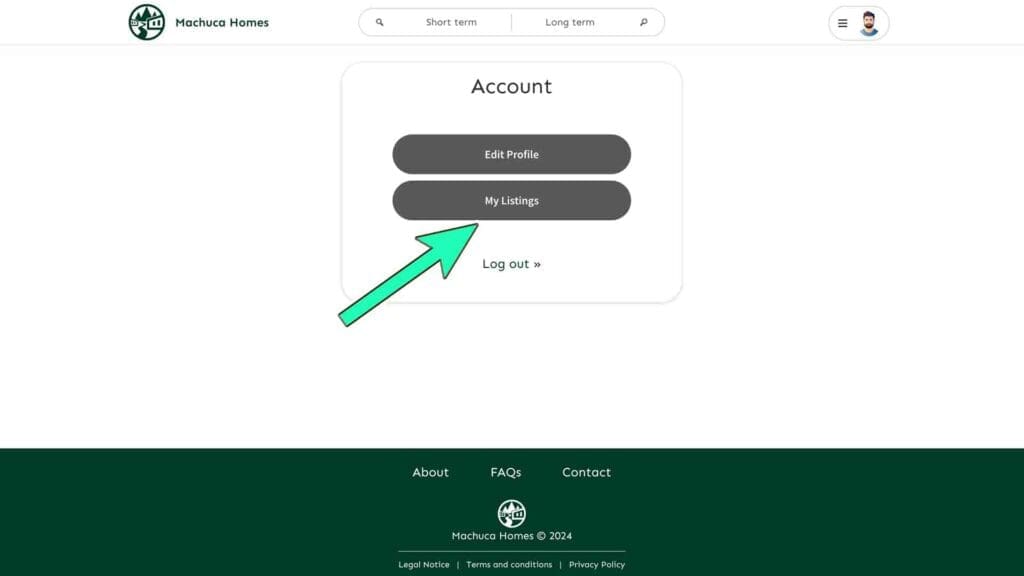
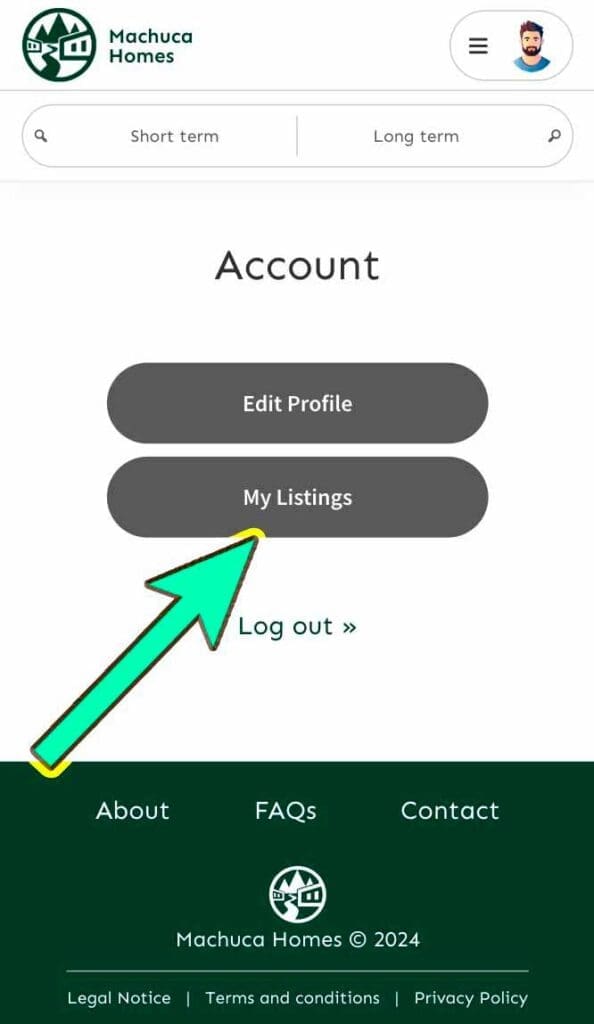
3. Click on “My Listings”.
4. Click on the edit button of the property you wish to edit.
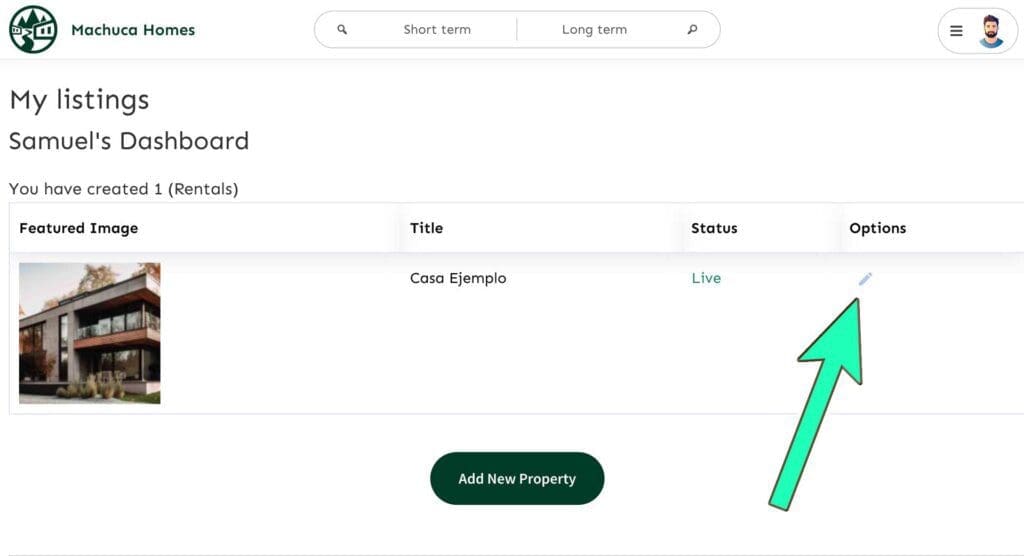
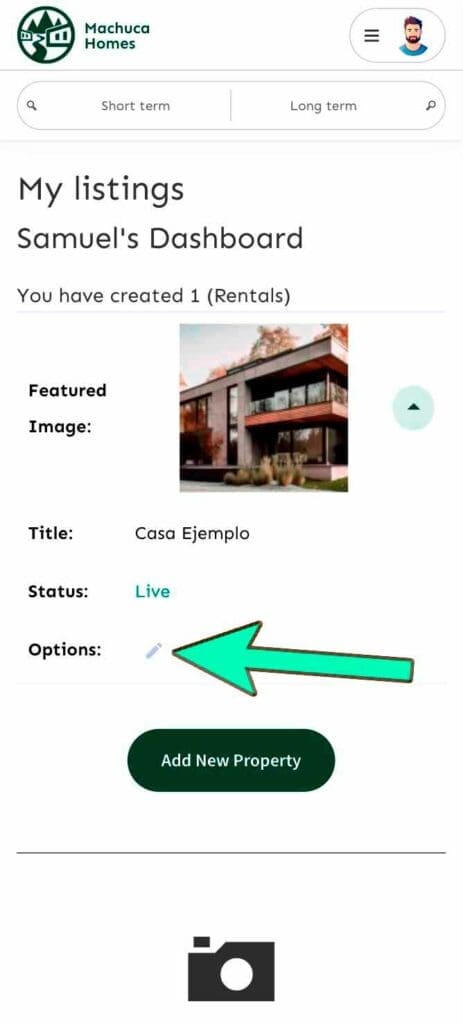
5. Edit the fields that you wish to modify and click the “update” button at the end of the form to apply the changes (see step 12 of the previous instructions).
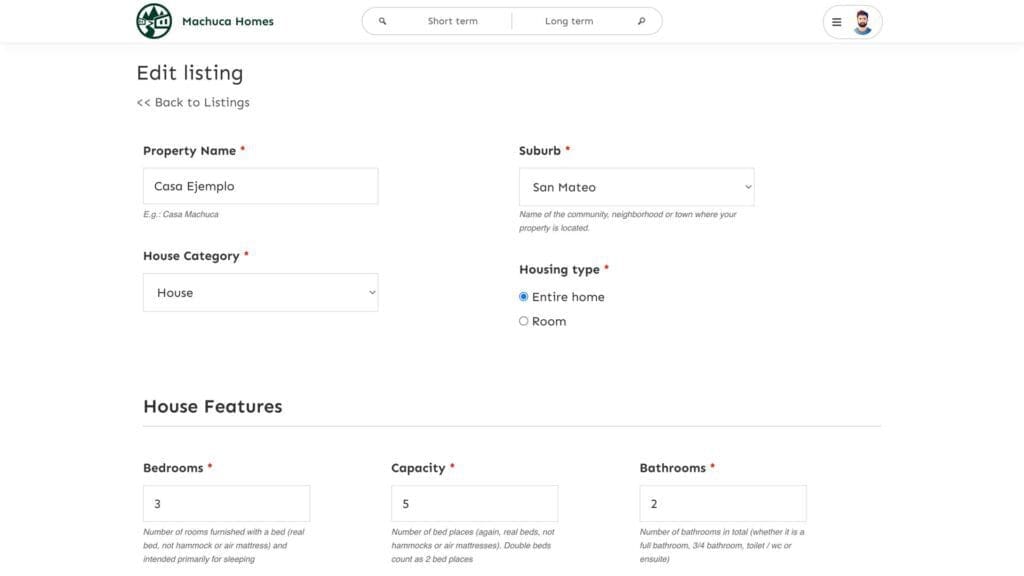
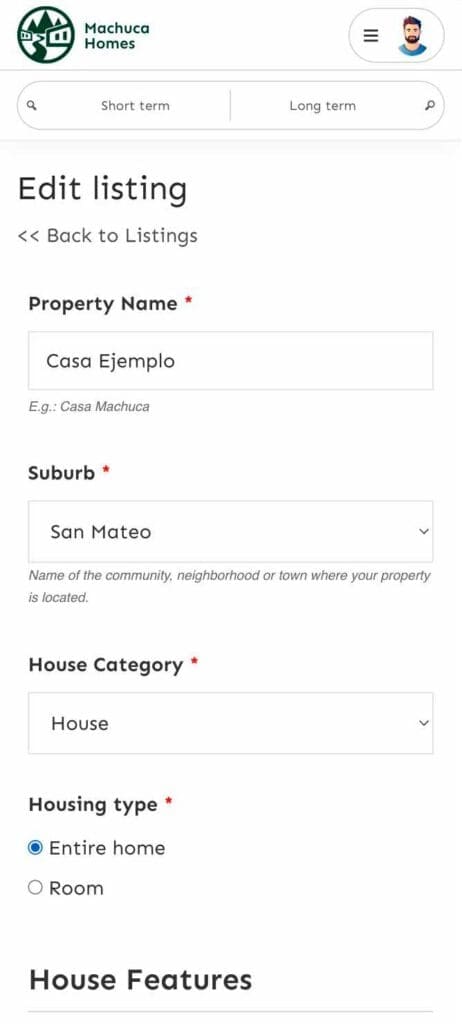
And that’s it!
We hope you found this tutorial useful.
If you have any comments or questions please don’t hesitate to
